
Webmail
Each Area 50 service position holder is issued a private webmail account to send and receive messages pertaining to area business.
Area 50 webmail is hosted by IONOS (by 1&1), the company that has been providing web hosting services to the area since 2008. Web mail accounts are free to the user. They have 2GB storage capacity, an anti-virus and anti-spam filter, and other advanced features (calendar, address book).
IONOS webmail functions much like other web-based email services, such as Gmail, Outlook, or Yahoo Mail. Users can:
- Send and receive text-based messages
- Attach documents (.txt, .docx) or image files (.jpg, .png, .gif)
- Create a custom file hierarchy for archiving messages
For an in-depth tutorial on IONOS webmail functions, log into your web mail account and click on the Online Help icon (question mark).
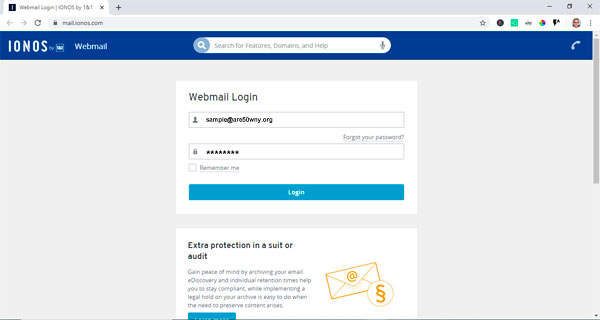
Browser Login
- In a web browser (Chrome, Firefox, IE Explorer, Safari), go to https://mail.ionos.com/
- In the "Email Address" field, enter the Area 50 email address issued to you by the Area 50 Web/IT committee
- In the "Password" field, enter the unique password issued to you by the Area 50 Web/IT committee
- Click Login
Mobile Apps
NOTE: We recommend logging into your Area 50 web mail through a web browser on a standard desktop or laptop computer – Chrome, Firefox, IE Explorer, and Safari (for Mac) – to compose emails, attach and send files, or download files.
Frequently Asked Questions
Spam Filtering
You should be getting a daily Spam folder report automatically emailed to you if there are items sitting in your Spam folder. If you'd like, you can adjust your spam filtering settings:
- Click on the gear icon at the top-right of the screen

- Click Mail, then click Anti-Spam
* By setting Spam Protection to "Off", ALL emails to go straight into your Inbox.
Display Name
If you've recently inherited a webmail account from a past chair, or if you are accessing a webmail account for the first time, you'll need to change your display name.
- Click on the profile icon at the top-right of the screen

- Click My contact data
- Change the text in the “First name” and “Last name” fields.
- Click Save
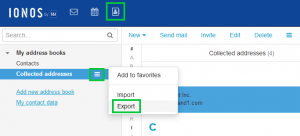
Exporting Contacts from IONOS E-mail Address Book
- In the menu bar, click the Address Book icon.
- Right-click on an address book under My Address Books.
- Choose Export from the context menu. Note that at least one address must be contained in the address book.
- Decide whether you want to export as a CSV or vCard file. You can optionally export your distribution lists as well.
Importing Contacts from IONOS E-mail Address Book
- Click on the Address Book icon in the blue main navigation at the top left.
- Click on the desired address book in the left-hand menu under My Address Books, followed by its Action icon, and select Import.
- Now select the desired format (vCard or CSV), upload your file, and finally, click on Import.
